
A cron job runs a task on your hosting automatically at set times, such as every hour or once a day. You'll usually only need one if a developer, plugin or app asks you to set it up, and they'll give you the command to use.
Setting up the wrong command can affect your website, so if you're not sure, raise a ticket and we'll set it up for you.
Adding a cron job
- Log in to cPanel. See How to log in to cPanel if you're not sure how.
- Under Advanced, click Cron Jobs.
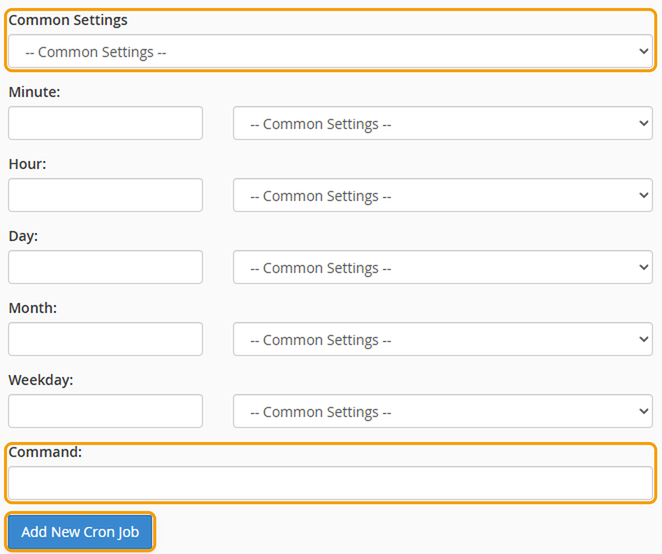
- Under Common Settings, choose how often the task should run, such as Once Per Hour or Once Per Day. This fills in the minute, hour, day, month and weekday boxes for you.
- Paste the command you've been given into the Command box.
- Click Add New Cron Job.
Your cron jobs are listed under Current Cron Jobs at the bottom of the page, where you can edit or delete them.
Good to know
- Don't run tasks too often. Running a task every minute uses a lot of your hosting's resources. Every 15 or 30 minutes is usually enough.
- Cron Email sends you an email each time the task runs. This is useful for checking it works, but turn it off afterwards so you don't get an email every time.
- WordPress has its own scheduler, which runs when people visit your website. Some websites replace it with a cron job to run tasks more reliably. If you'd like this set up, we can do it for you.


