
Most websites, including WordPress, store their content in a database. If you install WordPress using WordPress Manager by Softaculous, the database is created for you, so you usually won't need to do this yourself. You might need to create one if you're setting up a website by hand or a developer has asked for one.
Creating a database
- Log in to cPanel. See How to log in to cPanel if you're not sure how.
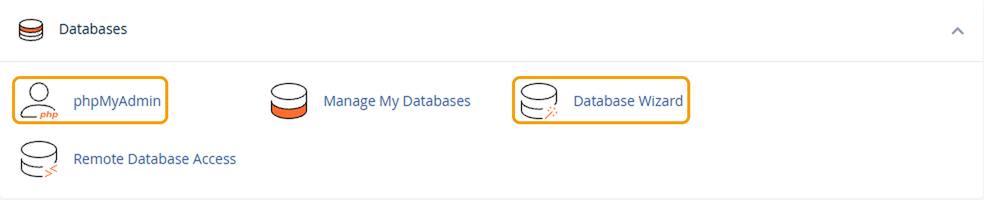
- Under Databases, click Database Wizard.
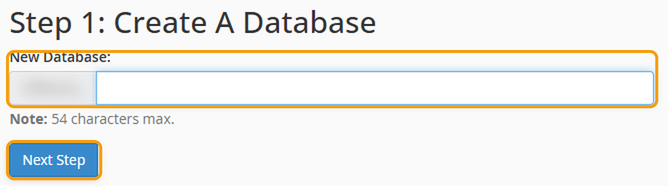
- Enter a name for the database and click Next Step. cPanel adds your account name to the start automatically, so the full name will look like account_name.
- Create a database user. Enter a username and a strong password, or click Password Generator, then click Create User. Make a note of the full username and password, as you'll need them to connect your website.
- Tick ALL PRIVILEGES and click Next Step. This lets the user read and change the database.
Your database is now ready. Your website will need the database name, username and password, and the host, which is localhost.
Using phpMyAdmin
phpMyAdmin lets you look at and manage the contents of your databases. It's mostly used for downloading a copy of a database, or importing one when moving a website.
- In cPanel, under Databases, click phpMyAdmin.
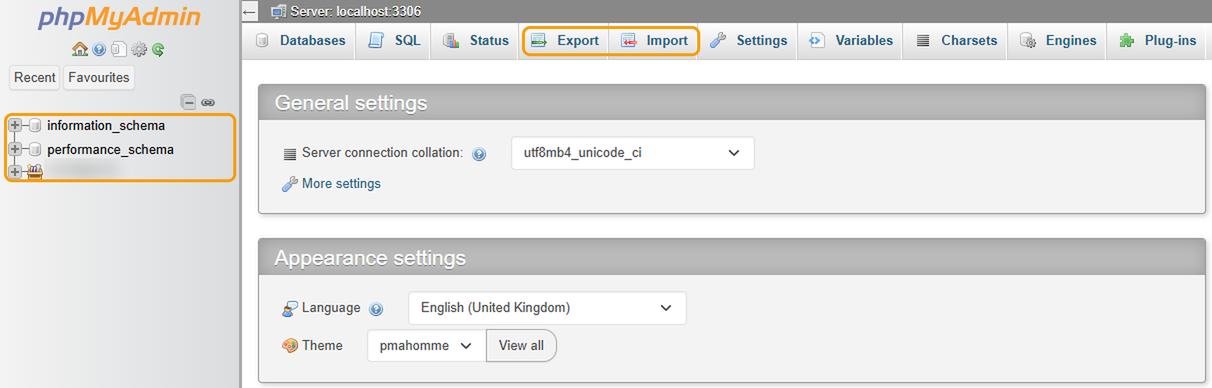
- Click the database you want on the left.
- Use Export to download a copy, or Import to upload one.
Be careful in phpMyAdmin. Changes take effect straight away and can't be undone, and a mistake can break your website. Take a backup first, and if you're not sure, raise a ticket and we'll help.


